Editorial update · Updated October 19, 2026. This page has been rewritten; historical models and events are identified in the text.
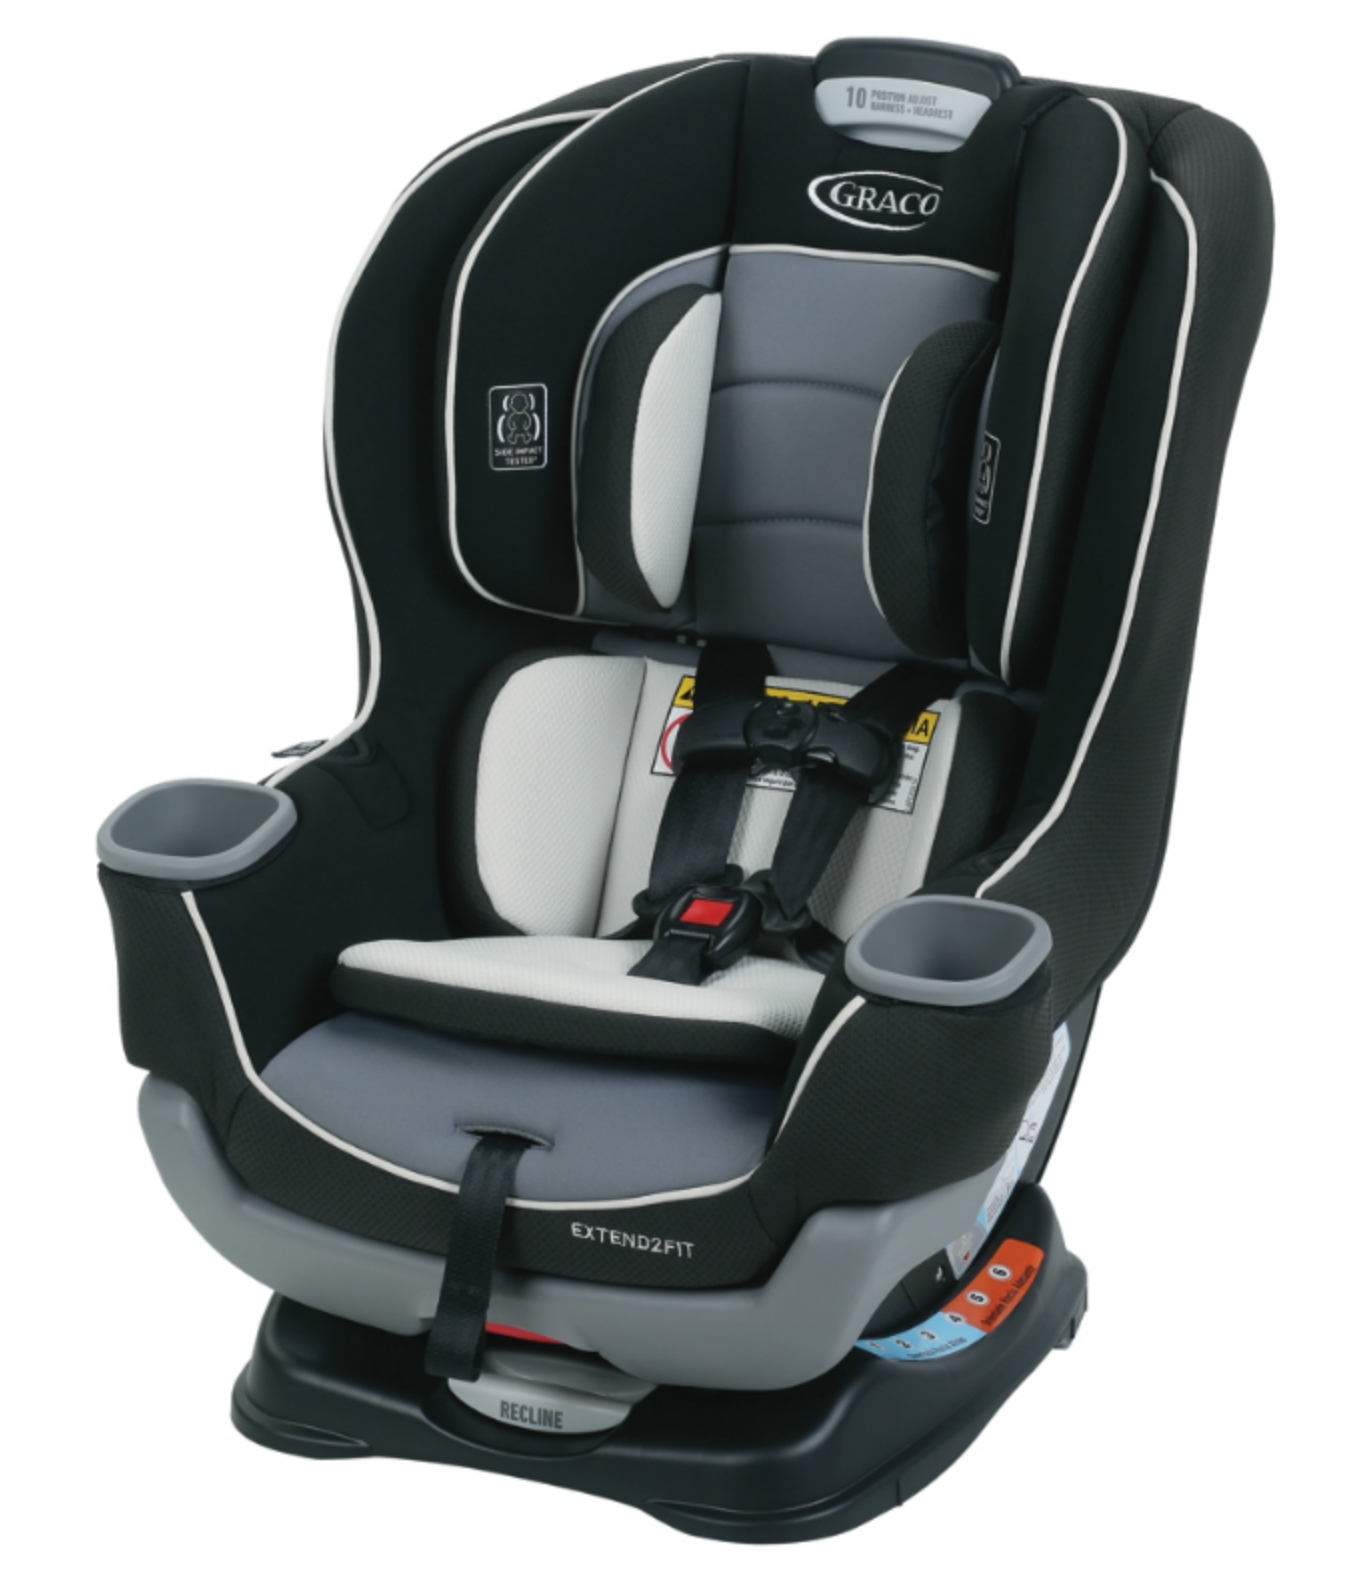
The Graco Extend2Fit convertible is built around a practical concern: giving a growing rear-facing child more room without immediately changing the direction of travel. Its extension panel is the feature many families notice first. Whether it is a good match depends on the space available in the car and the instructions for the particular version you own.
The word Extend2Fit appears on several Graco products. This guide focuses on the convertible model. A product that adds booster use, an anti-rebound component or the 4Ever name is a separate comparison, even when the packaging emphasizes the same legroom idea.
Start with the panel, then evaluate the whole installation
Graco’s Extend2Fit convertible description identifies an adjustable extension panel and extended rear-facing capacity. The matching instructions explain when particular settings may or must be used. Do not assume that the panel is simply an optional footrest that can be placed anywhere in every configuration.
At a fit trial, begin with the setting required for your child. Put the front passenger seat where its usual occupant needs it and compare the available clearance. This is more useful than measuring the empty back seat or judging a promotional image. A configuration that works behind a shorter passenger might not meet the needs of a taller driver.
What legroom does—and does not—tell you
Extra legroom is a comfort and packaging consideration. It does not replace the seat’s head-clearance, height, weight and harness-fit requirements. Record the child’s current measurements and check the rear-facing rules as a set. Do not use the largest number printed on a box as the only outgrown test.
Consider how the child gets into the seat, too. A setup that allows easy climbing for one child may require more lifting for another. A family making many brief trips might place more value on convenient access than on a rarely used adjustment. These are reasons to try the seat, not reasons to shorten a restraint stage prematurely.
Distinguish the versions before comparing prices
The original two-mode convertible is intended for rear-facing and forward-facing harness use. Extend2Fit-branded 3-in-1 and 4Ever products add different functions. Compare the complete product name and model number, then ask which additional function you would actually use.
For example, someone needing a dependable second-car convertible might prefer fewer future modes if the present installation is straightforward. Someone planning to keep one restraint in the main vehicle may value a broader range of later uses. Neither choice guarantees that a child will fit the last stage exactly as expected years in advance.
Use the convertible comparison page and all-in-one buying guide to separate these decisions. They help keep a sale on one model from being mistaken for an equivalent offer on another.
Plan for the later forward-facing setup
Changing direction is a new installation, with a different belt path and mode-specific rules. The earlier setup should not be reused from memory. Keep the actual guide with the seat and note where it explains recline, harness height, the tether and lower-anchor limits.
Some online descriptions quote older versions’ minimums. If an old review and a current product listing disagree, do not combine their numbers into a new set of instructions. Ask Graco to identify the manual for the restraint’s model and date. Our registration guide also explains why keeping those details accessible is useful for manufacturer notices.
Cleaning and sharing between caregivers
Try the routine tasks before committing: tightening the harness, loosening it, adjusting the headrest and finding the manual compartment. If two adults will share installation duties, both should be comfortable with the same procedure. Photograph the model label for your household records, while retaining the physical labels on the seat.
For cleaning, follow the prescribed treatment for the cover, buckle and harness separately. Do not assume a washable seat pad means every component can be soaked or machine washed. The better purchase is the version that fits your current child and vehicle, with adjustments your family understands well enough to use on an ordinary busy morning.