Editorial update · Updated October 19, 2026. This page has been rewritten; historical models and events are identified in the text.
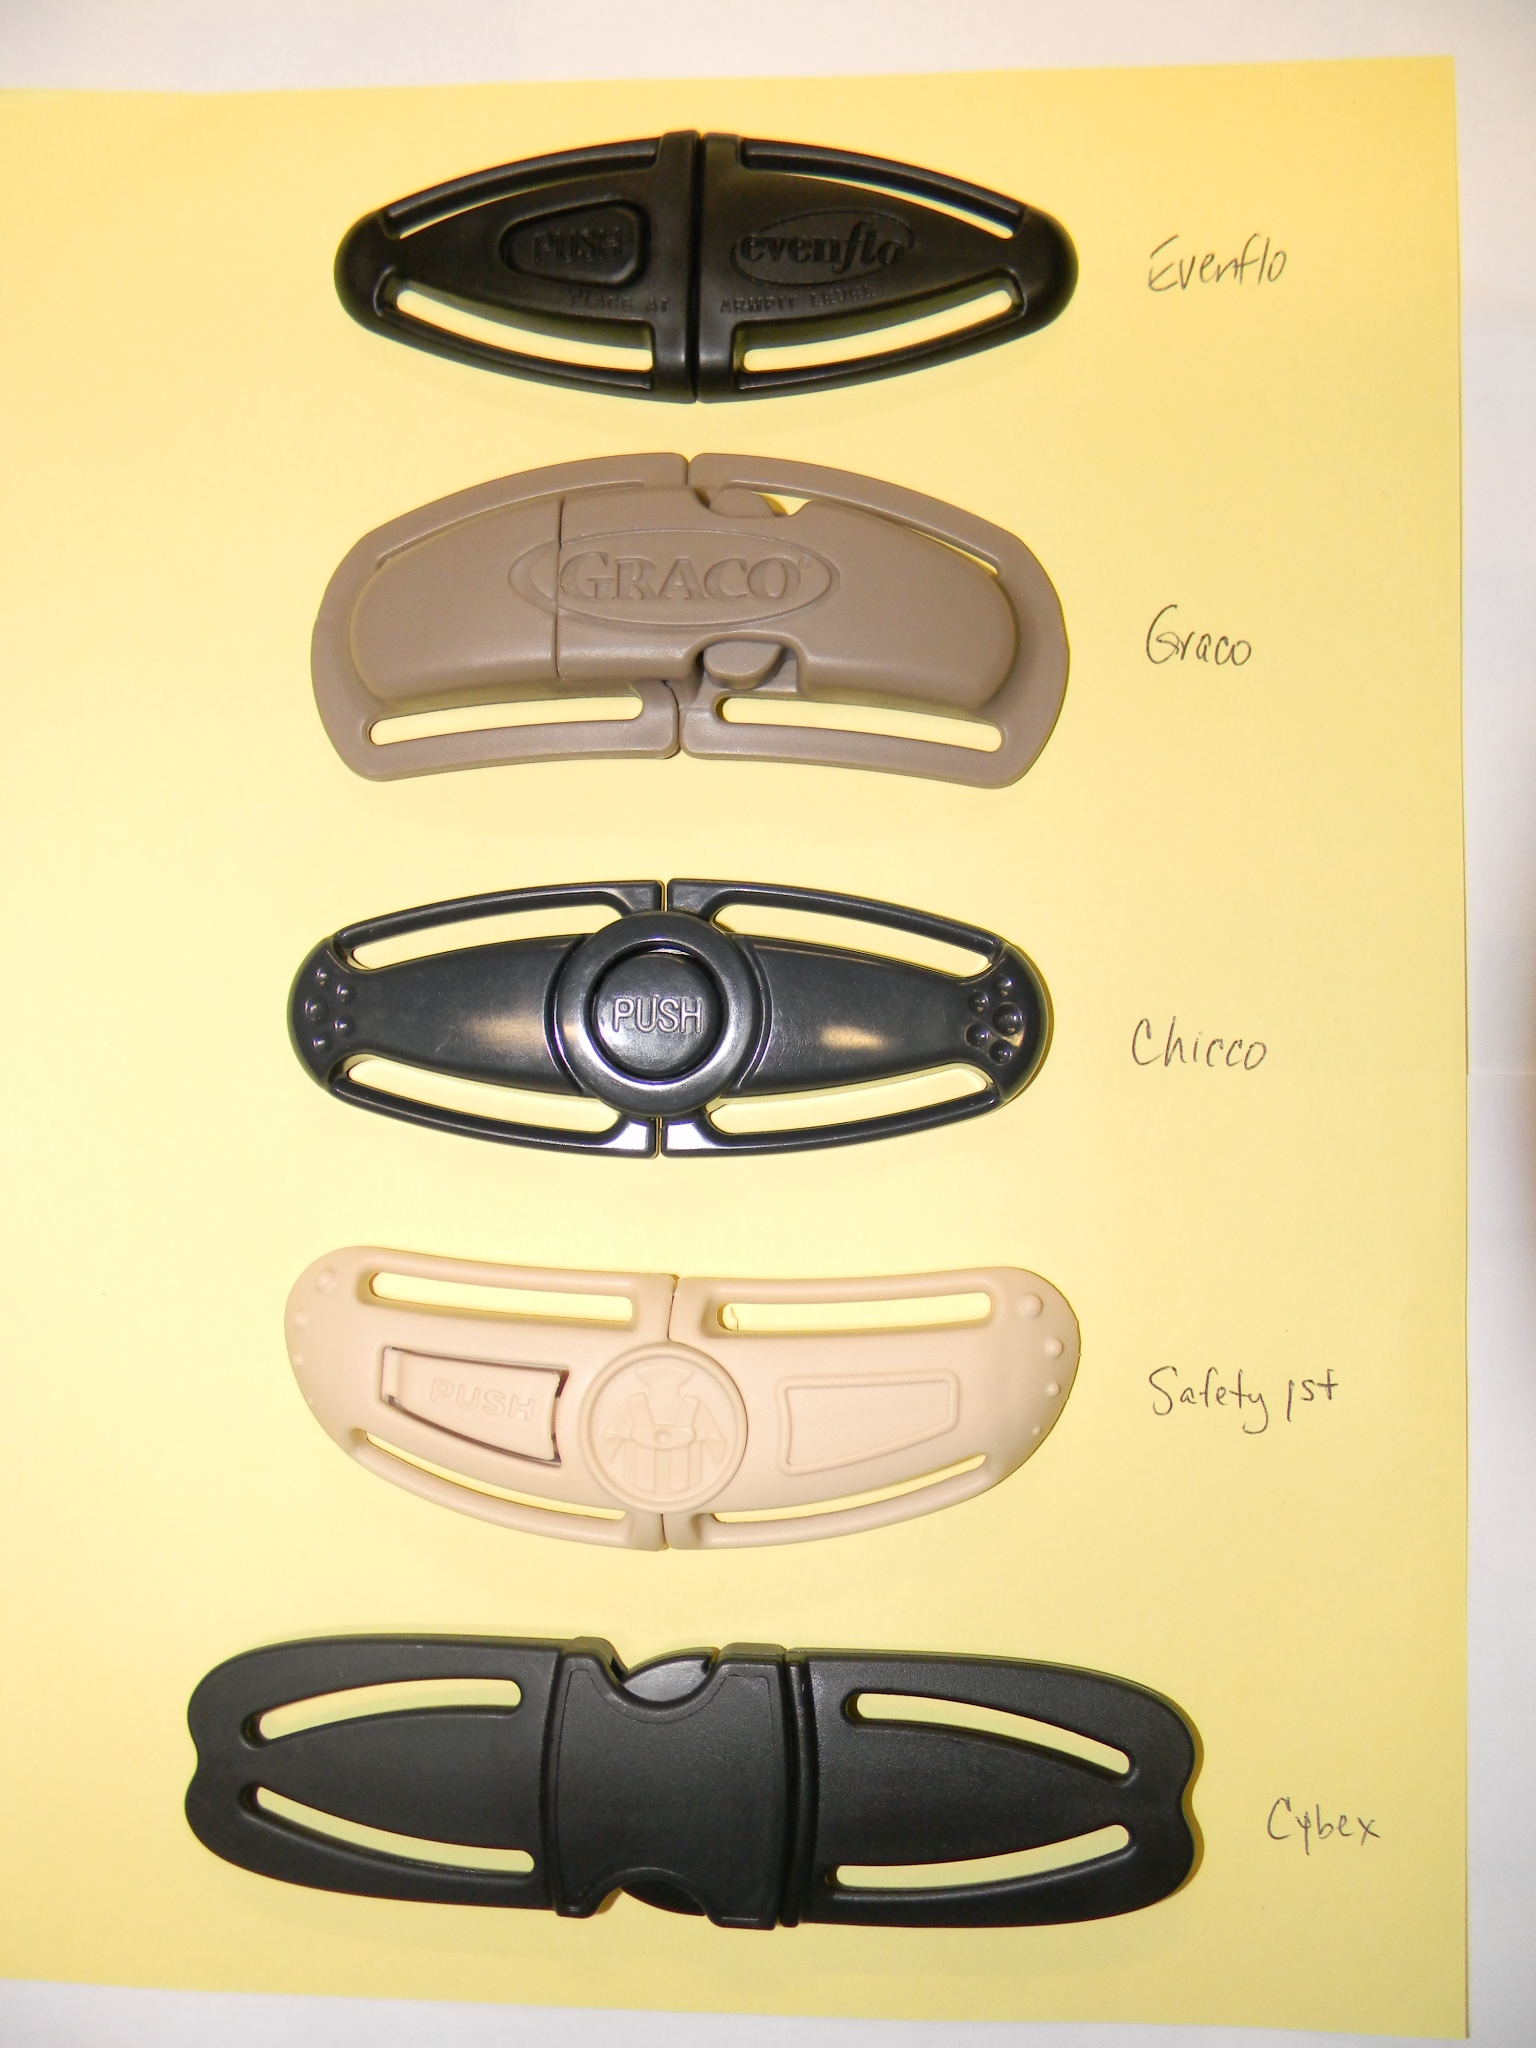
A chest clip helps keep the shoulder straps positioned on a child’s chest and shoulders. It is one part of the restraint’s harness system, so checking the clip alone is not enough. The buckle, strap routing, harness height and snugness all need to be correct at the same time.
Use the position specified in the manual
NHTSA’s general installation guidance places the chest clip at armpit level. Follow the directions for your particular model, with the child seated in the intended posture. Do not slide the clip down to the abdomen to clear a bulky jacket or move it against the neck in an attempt to make the harness tighter.
A correctly positioned clip does not remove slack. Tighten the harness itself as instructed, checking for excess webbing at the shoulder. If you can still pinch a fold of harness material there, return to the adjustment process rather than treating the closed clip as proof that the child is secure.
Look above and below the clip
Trace both straps to check for twists and confirm the harness is in the correct height setting. Rear-facing and forward-facing modes can have different routing rules. A moving headrest may adjust the harness automatically on one model, while another requires rethreading. Use the manual rather than copying a nearby seat.
Check that both buckle tongues are secured and that clothing has not folded into the buckle or adjuster. Our winter-clothing guide explains why a thick layer can undermine an otherwise careful buckle routine.
Replace parts through the manufacturer
If the clip is broken, sticks, separates unexpectedly or is missing, contact the car-seat manufacturer with the model and manufacture date. Use only a replacement approved for that restraint. A generic clip that fits the webbing is not evidence that it is the correct component.
Do not add a clip to a restraint designed without one, combine pieces from different models or disable part of a clip to discourage a child from opening it. Ask the manufacturer about persistent escape or fit problems and seek individualized help when needed.
Make it a complete buckle check
Before driving, review the child’s posture, flat straps, secured buckle, snug harness and clip position as a single sequence. The common car-seat errors checklist places that sequence alongside installation checks. A small component is easier to use correctly when it is understood as part of the whole restraint.