Starting an embroidery project can feel confusing when you are unfamiliar with the equipment, materials, and terminology. From choosing the right thread to preparing fabric, beginners have several things to learn before creating their first design. Fortunately, an embroidery machine makes it easier to personalize shirts, hats, uniforms, and other fabric products. With suitable equipment and regular practice, embroidery can become an enjoyable hobby or a business opportunity.
For beginners interested in custom apparel, understanding the basics is an important first step. It also helps to explore other decoration methods, such as DTF printing, to discover additional ways to create personalized products.
Understanding Basic Embroidery Machine Terms
Before using an embroidery machine, it is helpful to understand some common terms. Knowing what each component does makes it easier to follow instructions and prepare projects.
- Hoop: Holds fabric in position during embroidery to help maintain accurate stitching.
- Stabilizer: Supports the fabric during stitching and helps prevent unwanted movement.
- Bobbin: Holds the lower thread that works with the upper thread to create stitches.
- Embroidery Design: A digital pattern that tells the machine where to stitch.
- Needle: Carries the upper thread through the fabric.
- Stitch Density: Describes how closely stitches are placed within a design.
These terms become easier to understand once you start working on actual projects. Beginners should become familiar with their machine’s instructions before attempting complicated designs.
Essential Materials for Your First Embroidery Project
Having suitable materials makes embroidery easier and helps improve the finished result. You do not need an extensive collection of supplies when starting. A few basic items are enough for many beginner projects.
Embroidery thread is one of the most important supplies because it determines the colors and appearance of your design. Choose thread specifically intended for machine embroidery.
You will also need suitable fabric, stabilizer, needles, and embroidery hoops. Different materials require different preparation, so consider the fabric type before selecting your supplies.
For example, a cotton shirt and a structured cap may require different hooping and stabilization methods. Understanding these differences helps beginners prepare their projects correctly.
How to Start Using an Embroidery Machine
Getting started becomes easier when you divide the process into manageable steps.
1. Choose a Simple Design
Begin with a small logo, initial, or basic decorative pattern. Complicated artwork with multiple colors and dense stitching can be difficult for someone who has never operated an embroidery machine.
2. Prepare Your Fabric
Select an appropriate stabilizer and secure the fabric using a suitable hoop. Proper preparation helps prevent shifting while the machine is working.
3. Load Your Design
Use compatible embroidery software to prepare your design and transfer it to the machine. Check its size, colors, and positioning before starting.
4. Check the Thread and Needle
Make sure the thread is installed correctly and the needle is suitable for your fabric. Follow the manufacturer’s instructions when preparing the bobbin and threading the machine.
5. Start the Project
Begin stitching and monitor the initial part of the design. When embroidery is complete, remove the fabric carefully and inspect the finished work.
Practicing these steps with simple projects can help you become comfortable with the equipment.
Choosing an Embroidery Machine for Your Needs
Your first embroidery machine should match your experience and future goals. Someone interested in occasional home projects may have different requirements from a creator planning to sell customized clothing.
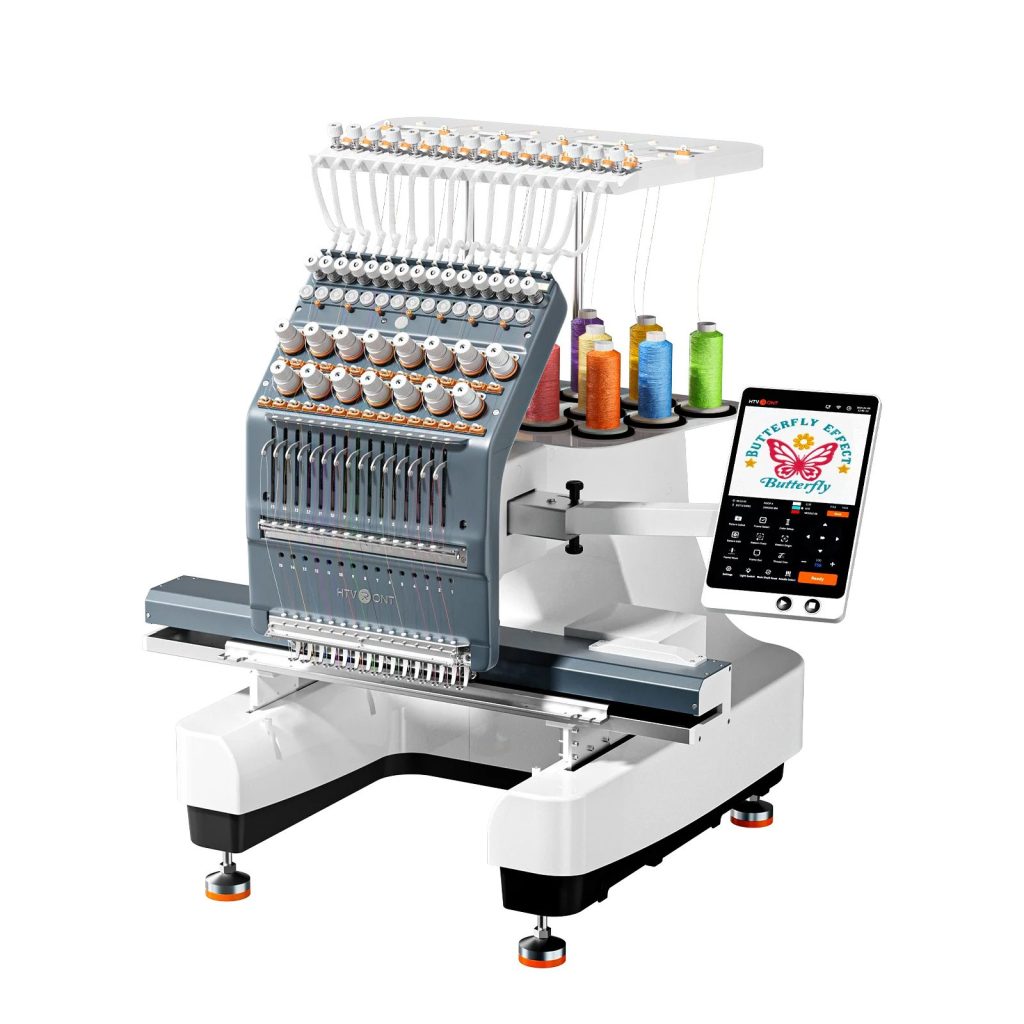
The HTVRONT E15 15-Needle Embroidery Machine is designed for entrepreneurs and growing embroidery businesses. Its multiple-needle configuration supports multicolor projects, while its 10.1-inch touchscreen makes machine operation more accessible.
It includes 40 built-in designs and connects with IdeaStudio, which provides access to more than 1,000 designs, including 300 free options. Its generous embroidery area also supports different projects, including shirts and hats.
Features such as red-light alignment and smart border tracing can assist with design positioning. The included hoops and starter kit provide additional supplies for preparing embroidery projects.
How a DTF Printer Expands Custom Apparel Options
Embroidery is an excellent choice for creating stitched logos and textured designs, but it is not the only decoration method available to apparel businesses. A DTF printer offers another approach for applying colorful graphics to clothing.
DTF stands for Direct to Film. The process involves printing artwork onto special film, applying adhesive powder, preparing the transfer, and using a heat press to apply it to a suitable garment.
For example, a small clothing business might use embroidery for company logos and DTF transfers for detailed illustrations or colorful graphics. Offering both methods can help businesses accommodate different customer preferences.
If you want to explore this printing method, visit the HTVRONT DTF printer collection to discover equipment for custom apparel projects.
Common Embroidery Mistakes Beginners Should Avoid
New users sometimes make avoidable mistakes because they rush through preparation. One common problem is choosing an unsuitable stabilizer for the fabric. This can affect the finished design and make stitching less consistent.
Another mistake is starting with artwork containing too many small details. Simple designs are easier to manage and provide a better opportunity to understand different stitching techniques.
Incorrect threading and poor fabric positioning can also cause problems. Checking everything before starting can save time and materials.
Most importantly, beginners should practice regularly instead of expecting perfect results immediately. Every project provides an opportunity to understand the equipment and improve technique.
Final Thought
Starting embroidery becomes easier when you understand the basic terms, choose suitable materials, and practice with simple designs. This Embroidery Machine Beginner Guide: Terms, Materials & How to Start provides a foundation for anyone interested in creating personalized clothing or developing a custom apparel business.
As your experience grows, you can explore advanced equipment like the HTVRONT E15 and other decoration methods, including DTF printing. With the right tools and consistent practice, you can turn your creative ideas into quality products and gradually expand your business opportunities.