Editorial update · Updated October 19, 2026. This page has been rewritten; historical models and events are identified in the text.
A stubborn installation usually calls for identifying the source of the problem before applying more force. The belt may be in the wrong path, the wrong locking method may be in use, or the selected seating position may be incompatible. Working through those questions is more useful than collecting tricks from unrelated seats.
Reset the setup before tightening
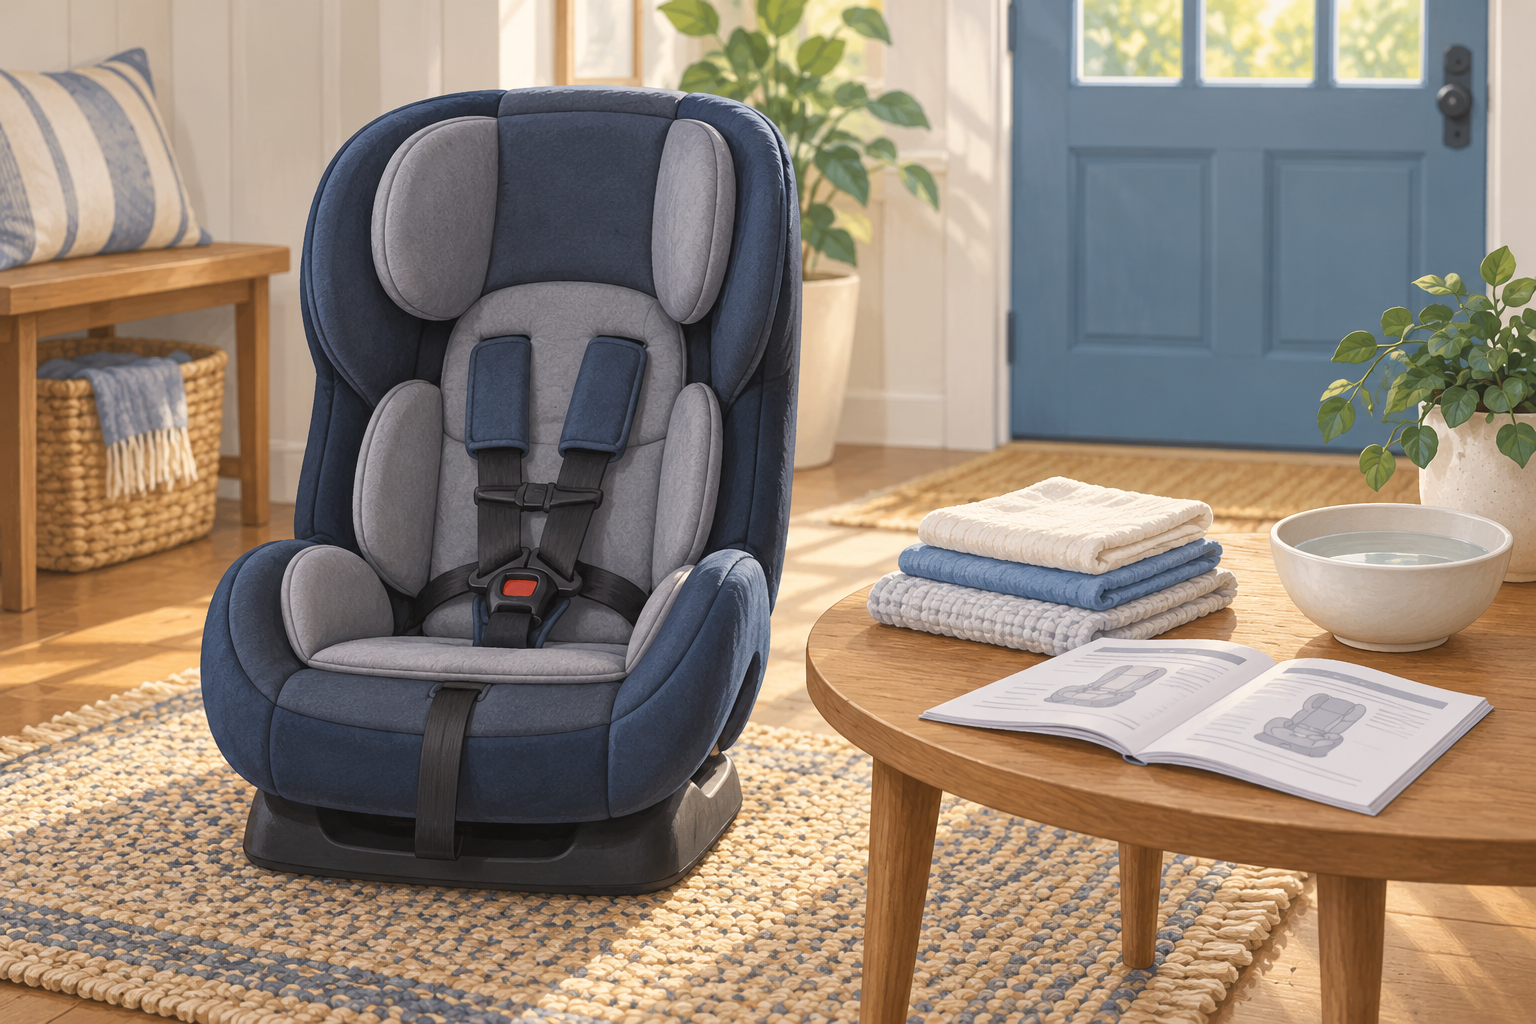
Park safely and open the restraint and vehicle manuals to the relevant sections. Confirm the child’s required mode, the allowed seating position and the seat’s approved recline setting. A convertible seat can have different belt paths for rear-facing and forward-facing use. Choose the path for the current mode, even if another opening looks easier to reach.
Choose an approved installation method. A vehicle belt and lower anchors are alternatives for many harnessed restraints; using both together requires explicit permission in the applicable instructions. Identify the correct lower-anchor pair if using that method, and check the child-restraint and vehicle weight restrictions.
Identify what keeps the installation belt tight
For a seat-belt installation, follow the manuals for the required locking method. A built-in lockoff or tensioning panel may change the steps compared with a seat that relies on the vehicle belt’s locking feature. Do not assume that a shoulder belt pulling back into its retractor is already locked for a child-restraint installation.
Remove twists and use the pressure and tightening technique specified by the manufacturer. If the buckle, belt hardware or vehicle seat contour interferes, stop and consult the compatibility guidance. Do not add a hardware-store clip, route around an armrest or recline the vehicle seatback to clamp the restraint unless the relevant manufacturers expressly instruct that procedure.
Check movement in the right place
NHTSA’s installation guidance uses a check at the belt path: the installed restraint should not move more than one inch side to side or front to back there. Testing the top of a rear-facing shell can produce a different impression and is not the same test. Recheck the permitted recline after tightening.
For a forward-facing harnessed seat, connect and use the top tether according to both manuals, whether the main installation uses a vehicle belt or lower anchors. Identify the designated tether anchor; a convenient cargo hook is not automatically an approved substitute.
Escalate a specific problem
If the seat still does not meet its instructions, gather the model information, vehicle details and photographs of the problem for the manufacturer or a qualified technician. Trying an approved alternate seating position or method may resolve the issue. An installation that requires a prohibited workaround is not a successful fit.
NHTSA’s linked installation pages include official instructional material. For individual help, prepare for a car seat check. Our guides to borrowing lower anchors and common car-seat mistakes cover two frequent sources of confusion.